Custom Built Rods
What is a custom fishing rod? A custom fishing rod gives you the option to pick out everything about the rod and make it yours.
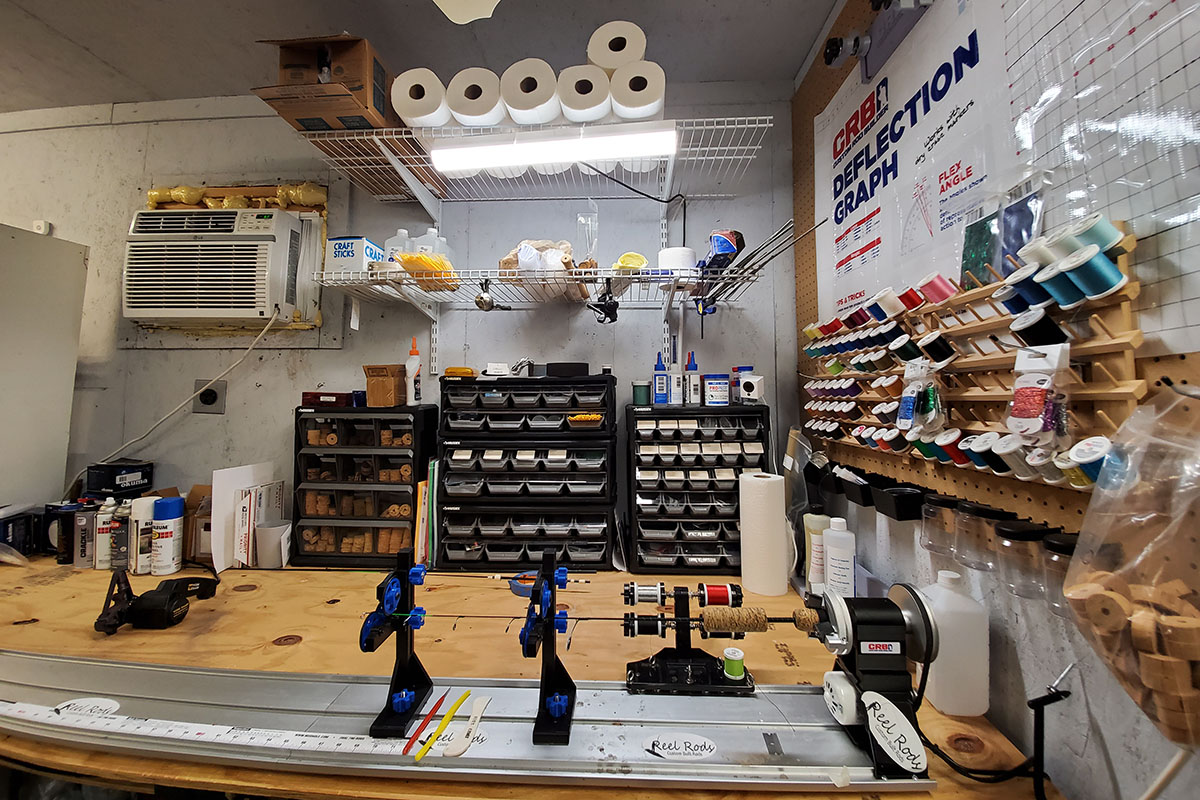
The Building Process
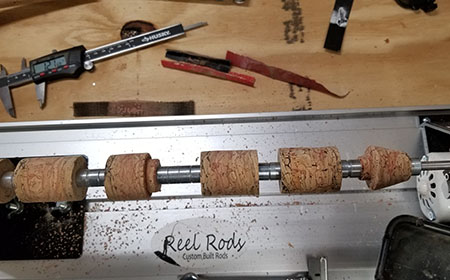
Turning Cork Grips
Reel Seat Prep
Guide Placement
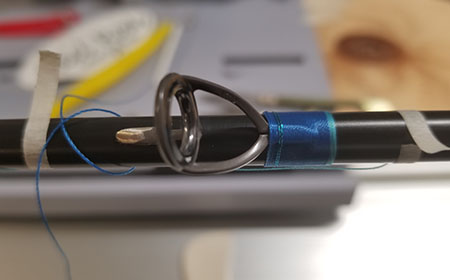
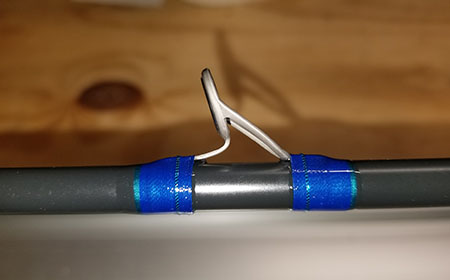
Wrapping
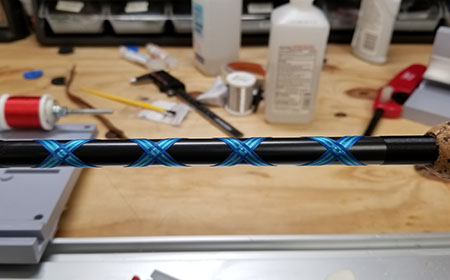
Decorative Wrapping
Finish Epoxy
Interested? Want to know more about Reel Rods?
We start by choosing the right blank for what you want to fish for and how you want to fish. This can be tailored to the lure and the style of fishing as well.
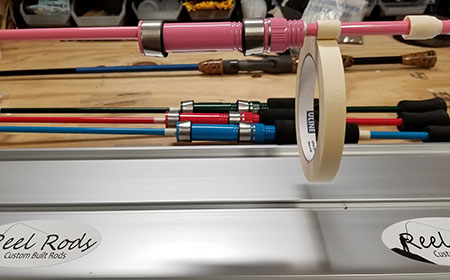
Next we choose what guides you want. The guides are really one of the most important parts. We typically use Fuji guides on the bass rods and Pac Bay guides on our personalized rods. You can also chose from regular guides with concept spacing to micro guides and even acid/spiral guide layout.
Next we choose a color scheme for the rod. We can get any rod in any color as well as what threads we use to wrap on the guides. We can use multiple colors in thread wraps and even do some very elaborate butt wraps as well.
Once we choose a color scheme for the rod we will start to look at reel seats and the grips. The reel seats also come in a ton of color options to choose from. Next we pick from the grips. There are a ton of grip options. We can either make custom cork grips that comes in all sorts of colors to match the build. We also can use Winn Grips (the same grips on golf clubs also manufacture some really good fishing rod grips) to carbon fiber or EVA foam grips.
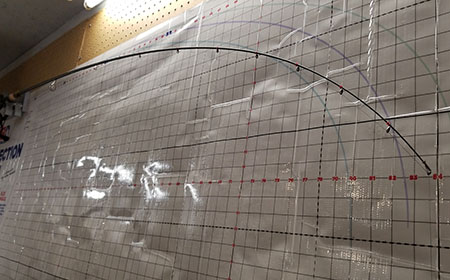
The final step is to assemble the rod. Every rod we make is assembled by hand. This gives us the opportunity to make the rod the best it can be. One of the best parts about a custom rod is that it is built on the spine of the rod. This is the point at which the rod wants to snap in place once it is bent. After the spine is marked on the rod we attach the grips and start to measure out the guide placement. We will now put a reel on the rod and run some line through it and check how the line acts when a load is applied to the rod. This shows us where the guides should be placed which will allow for the best performance possible. Finally we wrap the guides in place, do a final few checks of alignment and apply the epoxy to the thread. This epoxy is what locks everything in place. Now that the epoxy is dry the rod is finally finished and ready to use.